warning Ram 1500 2014 Get to Know Guide
[x] Cancel search | Manufacturer: RAM, Model Year: 2014, Model line: 1500, Model: Ram 1500 2014Pages: 252, PDF Size: 6.74 MB
Page 31 of 252
REAR HEATED SEATS
The rear heated seat switches are located
on the rear of the center console.
• Press the switch once to select High-level heating.
• Press the switch a second time to select Low-level heating.
• Press the switch a third time to shut the heating elements off.
When the HIGH-level setting is selected,
the heater will provide a boosted heat
level during the first four minutes of op-
eration. Then, the heat output will drop to
the normal HIGH-level. If the HIGH-level
setting is selected, the system will auto-
matically switch to LOW-level after a
maximum of 60 minutes of continuous
operation. At that time, the number of
illuminated LEDs changes from two to
one, indicating the change. The LOW-
level setting will turn OFF automatically after a maximum of 45 minutes.
WARNING!
• Persons who are unable to feel pain to the skin because of advanced age, chronic illness, diabetes, spinal cord injury, medication, alcohol use, exhaus-
tion or other physical conditions must exercise care when using the seat heater.
It may cause burns even at low temperatures, especially if used for long periods
of time.
• Do not place anything on the seat that insulates against heat, such as a blanket
or cushion. This may cause the seat heater to overheat. Sitting in a seat that
has been overheated could cause serious burns due to the increased surface
temperature of the seat.
Heated Seat Switches
1 — Left Rear Heated Seat Switch
2 — Right Rear Heated Seat Switch
GETTING STARTED
29
Page 32 of 252
HEATED STEERING WHEEL
The steering wheel contains a heating element that heats the steering wheel to one
temperature setting.
The heated steering wheel control button
is located on the center instrument panel
below the climate controls.
If your vehicle is equipped with a touch-
screen, the heated steering wheel control
button is located within the climate or
controls screen of the touchscreen.
•
Press the heated steering wheel button
once to turn the heating element On.
•Press the heated steering wheel button
a second time to turn the heating ele-
ment Off.
Once the heated steering wheel has been
turned on, it will operate for approximately
30 to 80 minutes before automatically
shutting off. The heated steering wheel
can shut off early or may not turn on when
the steering wheel is already warm.
Vehicle Equipped With Remote Start
On models that are equipped with remote start, this feature can be programmed to
come on during a remote start.
If your vehicle is equipped with a touchscreen, this feature can be programmed through
the Uconnect®system. Refer to “Uconnect®Settings” in “Understanding Your Instru-
ment Panel” in the Owner's Manual on the DVD.
If your vehicle is not equipped with a touchscreen, this feature can be programmed
through the Electronic Vehicle Information Center (EVIC). Refer to “Electronic Vehicle
Information Center (EVIC)” in “Understanding Your Instrument Panel” in the Owner's
Manual on the DVD.
WARNING!
• Persons who are unable to feel pain to the skin because of advanced age, chronic illness, diabetes, spinal cord injury, medication, alcohol use, exhaus-
tion, or other physical conditions must exercise care when using the steering
wheel heater. It may cause burns even at low temperatures, especially if used
for long periods.
• Do not place anything on the steering wheel that insulates against heat, such as a blanket or steering wheel covers of any type and material. This may cause
the steering wheel heater to overheat.
1 — Heated Steering Wheel Control
Button
GETTING STARTED
30
Page 33 of 252
TILT STEERING COLUMN
The tilt lever is located on the steering column below the turn signal lever.
• To tilt the column, simply pull the tiltlever rearward toward you and then
move the steering wheel upward or
downward as desired.
• Release the tilt lever to lock the steer- ing wheel into position.
ADJUSTABLE PEDALS
• Press the switch located on the leftside of the steering column forward to
move the brake and accelerator pedals
away from the driver and press the
switch rearward to move the pedals
closer to the driver.
NOTE:
The pedals cannot be adjusted when the vehicle is in REVERSE or when the
Electronic Speed Control is set.
CAUTION!
Do not place any article under the adjustable pedals or impede its ability to move,
as it may cause damage to the pedal controls. Pedal travel may become limited if
movement is stopped by an obstruction in the adjustable pedal's path.
WARNING!
• Tilting the steering column while the vehicle is moving is dangerous. Without a stable steering column, you could lose control of the vehicle and have a
collision. Adjust the column only while the vehicle is stopped. Be sure it is
locked before driving.
• Do not adjust the pedals while the vehicle is moving. You could lose control and
have a collision. Always adjust the pedals while the vehicle is parked.
GETTING STARTED
31
Page 39 of 252
Resume
• To resume a previously selected set speed in memory, push the RESUME/ACCELswitch and release.
Cancel
• Push the CANCEL switch or apply the brakes to cancel the set speed and maintainthe set speed memory.
• Push the ON/OFF switch to turn the system off and erase the set speed memory.
WARNING!
• Leaving the Electronic Speed Control system on when not in use is dangerous. You could accidentally set the system or cause it to go faster than you want. You
could lose control and have a collision. Always leave the Electronic Speed
Control system off when you are not using it.
•
Electronic Speed Control can be dangerous where the system cannot maintain a
constant speed. Your vehicle could go too fast for the conditions, and you could
lose control. A collision could be the result. Do not use Electronic Speed Control
in heavy traffic or on roads that are winding, icy, snow-covered or slippery.
EIGHT-SPEED AUTOMATIC TRANSMISSION — IF EQUIPPED
• Your vehicle may be equipped with a fuel efficient eight-speed trans-
mission. The electronic Transmission
Shifter is located on the instrument
panel. The transmission gear (PRND)
is displayed both above the shifter con-
trol and in the Electronic Vehicle Infor-
mation Center (EVIC).
• To select a gear range, simply rotate the shifter control.
NOTE:
You must press the brake pedal to shift
the transmission out of PARK or from
NEUTRAL into DRIVE or REVERSE.
• To shift past multiple gear ranges at once (such as Park to Drive), simply rotate the switch to the appropriate detent.
• Select the DRIVE range for normal driving.
OPERATING YOUR VEHICLE
37
Page 48 of 252

Air Conditioning (A/C)
• If the air conditioning button is pressed while in AUTO mode, the system will exitAUTO mode and stay in A/C. The mode and blower will be set at the closest mode
and blower position that the system was operating in AUTO.
SYNC Temperature Soft-Key
• Touch the “SYNC” soft-key on the Uconnect®radio to control the driver and
passenger temperatures simultaneously. Touch the “SYNC” soft-key a second time
to control the temperatures individually.
Air Recirculation
• Use Recirculation for maximum A/C operation.
• For window defogging, turn the Recirculation button off.
• If the Recirculation button is pushed while in the AUTO mode, the indicator light may flash three times to indicate the cabin air is being controlled automatically.
Heated Mirrors
The mirrors are heated to melt frost or ice. This feature is activated whenever you turn
on the defroster.
PARKSENSE® FRONT AND REAR PARK ASSIST
ParkSense®can be enabled and disabled by pressing the ParkSense®switch located
below the climate controls, on the switch panel.
The four ParkSense
®sensors, located in the rear fascia/bumper, monitor the area
behind the vehicle that is within the sensors’ field of view. The sensors can detect
obstacles from approximately 12 in (30 cm) up to 79 in (200 cm) from the rear
fascia/bumper in the horizontal direction, depending on the location, type and
orientation of the obstacle.
The six ParkSense
®sensors, located in the front fascia/bumper, monitor the area in
front of the vehicle that is within the sensors’ field of view. The sensors can detect
obstacles from approximately 12 in (30 cm) up to 47 in (120 cm) from the front
fascia/bumper in the horizontal direction, depending on the location, type and
orientation of the obstacle.
When an object is detected within 6.5 ft (2 m) behind the rear bumper while the
vehicle is in REVERSE, a warning will display in the Electronic Vehicle Information
Center (EVIC) and a chime will sound (when Sound and Display is selected from the
Customer Programmable Features section of the Uconnect
®System screen). As the
vehicle moves closer to the object, the chime rate will change from single 1/2 second
tone (for rear only), to slow (for rear only), to fast, to continuous.
Refer to your Owner's Manual on the DVD for further details.
OPERATING YOUR VEHICLE
46
Page 49 of 252

Cleaning The ParkSense® Sensors
If “CLEAN PARK ASSIST SENSORS” appears in the Electronic Vehicle Information
Center (EVIC), clean the ParkSense®sensors with water, car wash soap and a soft
cloth. Do not use rough or hard cloths. Do not scratch or poke the sensors. Otherwise,
you could damage the sensors.
NOTE:
When the Instrument Cluster reads either Clean Sensor or Blinded, please clean off
the bumper sensors to see if the condition is corrected.
PARKVIEW® REAR BACK-UP CAMERA
• You can see an on-screen image of the rear surroundings of your vehicle whenever the shift lever is put into REVERSE. The ParkView®Rear Back-Up Camera image
will be displayed in the rearview mirror or touchscreen display along with a caution
note to “check entire surroundings” across the top of the screen. After five seconds
this note will disappear.
• If the rearview mirror or touchscreen display appears foggy, clean the ParkView
®
camera located to the left of the tailgate handle.
WARNING!
Drivers must be careful when backing up; even when using the ParkView®Rear
Back-Up Camera. Always check carefully behind your vehicle, and be sure to
check for pedestrians, animals, other vehicles, obstructions, or blind spots before
backing up. You must continue to pay attention while backing up. Failure to do so
can result in serious injury or death.
POWER SLIDING REAR WINDOW
The switch for the power sliding rear window is located on the overhead console.
• Push the switch right to open the glass and pull the switch left to close the
glass.
OPERATING YOUR VEHICLE
47
Page 51 of 252
Pinch Protection Feature
This feature will detect an obstruction in the opening of the sunroof during Express
Close operation. If an obstruction in the path of the sunroof is detected, the sunroof
will automatically retract. Remove the obstruction if this occurs. Next, press the
switch forward and release to Express Close.
NOTE:
If three consecutive sunroof close attempts result in Pinch Protect reversals, the
fourth close attempt will be a Manual Close movement with Pinch Protect disabled.
WARNING!
•Do not let children play with the sunroof. Never leave children unattended in a
vehicle, or with access to an unlocked vehicle. Do not leave the Key Fob in or near
the vehicle, and do not leave the ignition of a vehicle equipped with Keyless
Enter-N-Go™ in the ACC or ON/RUN mode. Occupants, particularly unattended
children, can become entrapped by the power sunroof while operating the power
sunroof switch. Such entrapment may result in serious injury or death.
• In a collision, there is a greater risk of being thrown from a vehicle with an opensunroof. You could also be severely injured or killed. Always fasten your seat
belt properly and make sure all passengers are properly secured.
•
Do not allow small children to operate the sunroof. Never allow your fingers, other
body parts, or any object to project through the sunroof opening. Injury may result.
WIND BUFFETING
Wind buffeting can be described as a helicopter-type percussion sound. If buffeting
occurs with the rear windows open, adjust the front and rear windows together.
If buffeting occurs with the sunroof open, adjust the sunroof opening, or adjust any
window. This will minimize buffeting.
OPERATING YOUR VEHICLE
49
Page 55 of 252
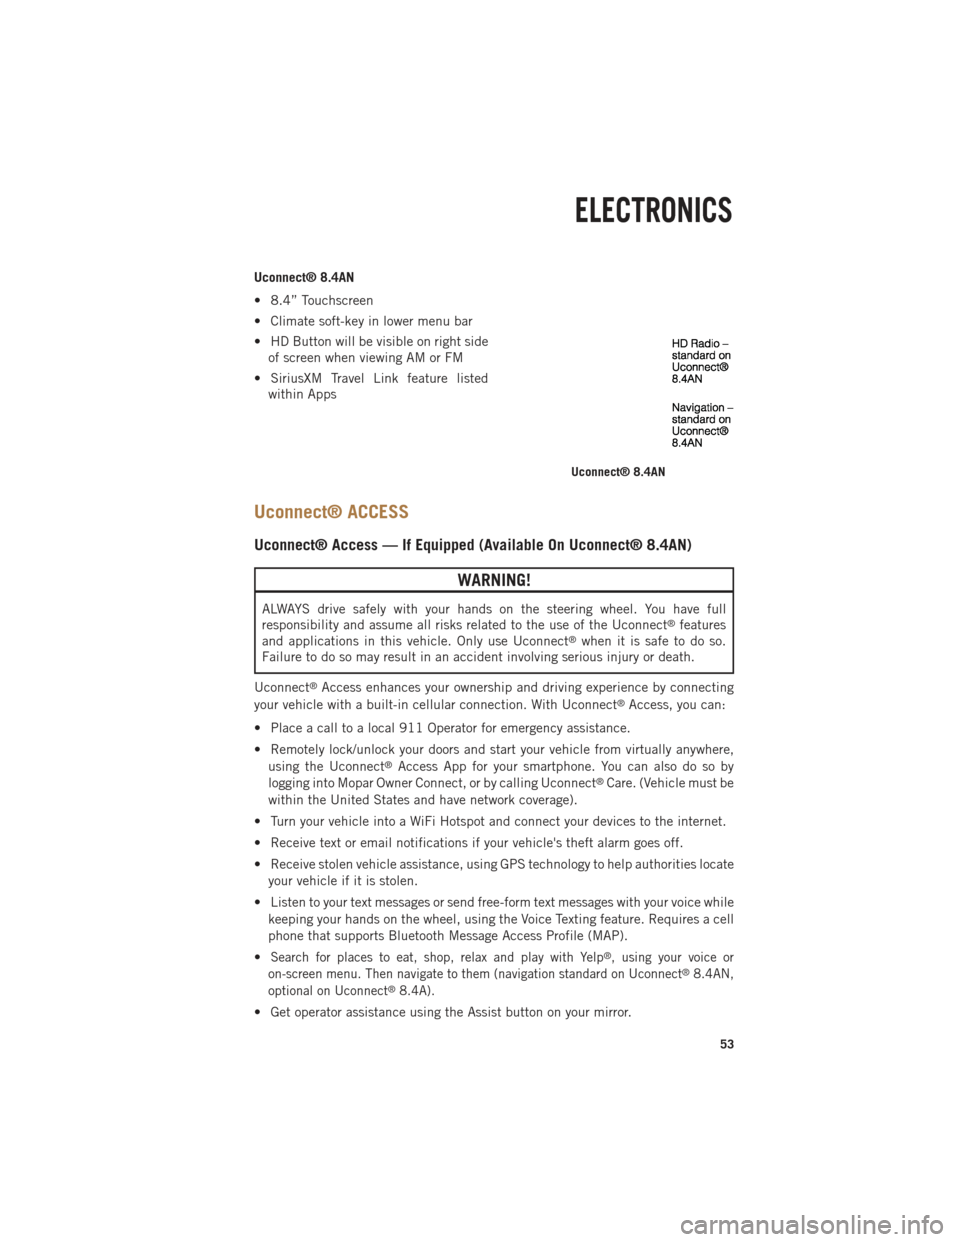
Uconnect® 8.4AN
• 8.4” Touchscreen
• Climate soft-key in lower menu bar
• HD Button will be visible on right sideof screen when viewing AM or FM
• SiriusXM Travel Link feature listed within Apps
Uconnect® ACCESS
Uconnect® Access — If Equipped (Available On Uconnect® 8.4AN)
WARNING!
ALWAYS drive safely with your hands on the steering wheel. You have full
responsibility and assume all risks related to the use of the Uconnect®features
and applications in this vehicle. Only use Uconnect®when it is safe to do so.
Failure to do so may result in an accident involving serious injury or death.
Uconnect
®Access enhances your ownership and driving experience by connecting
your vehicle with a built-in cellular connection. With Uconnect®Access, you can:
• Place a call to a local 911 Operator for emergency assistance.
• Remotely lock/unlock your doors and start your vehicle from virtually anywhere, using the Uconnect
®Access App for your smartphone. You can also do so by
logging into Mopar Owner Connect, or by calling Uconnect®Care. (Vehicle must be
within the United States and have network coverage).
• Turn your vehicle into a WiFi Hotspot and connect your devices to the internet.
• Receive text or email notifications if your vehicle's theft alarm goes off.
• Receive stolen vehicle assistance, using GPS technology to help authorities locate your vehicle if it is stolen.
• Listen to your text messages or send free-form text messages with your voice while keeping your hands on the wheel, using the Voice Texting feature. Requires a cell
phone that supports Bluetooth Message Access Profile (MAP).
•
Search for places to eat, shop, relax and play with Yelp®, using your voice or
on-screen menu. Then navigate to them (navigation standard on Uconnect®8.4AN,
optional on Uconnect®8.4A).
• Get operator assistance using the Assist button on your mirror.
Uconnect® 8.4AN
ELECTRONICS
53
Page 76 of 252

Voice Text Reply (Not Compatible With iPhone®)
Once your Uconnect®system is paired with a compatible mobile device, the system
can announce a new incoming text message, and read it to your over the vehicle audio
system. You can reply to the message using Voice Recognition, by selecting, or saying
one of the 18 pre-defined messages.
• Here’s How: Press the Uconnect
®Phone buttonand wait for the beep, then
say “reply.” Uconnect®will give the following prompt: “ Please say the message
you would like to send.” Wait for the beep and say one of the pre-defined
messages. (If you are not sure, you can say “help”). Uconnect
®will then read the
pre-defined messages allowed. As soon as you hear the message you would like to
send, you can interrupt the list of prompts by pressing the Uconnect
®phone
button and saying the phrase. Uconnect®will confirm the message by reading it
back to you. Then press the Phone button and say “Send.”
PRE-DEFINED VOICE TEXT REPLY RESPONSES
Yes. Stuck in Traffic. See you later.
No. Start without me. I’ll be Late.
Okay. Where are you?
I will be
minutes late.
Call me. Are you there yet?
I’ll call you later. I need directions.
See you in
of minutes.
I’m on my way.
Can’t talk right now.
I’m lost. Thanks.
Voice texting reply and voice texting features require a compatible mobile device enabled
with Bluetooth®Message Access Profile (MAP). iPhone®and some other smartphones
do not currently support Bluetooth®MAP. Visit www.UconnectPhone.com for system and
device compatibility.
Want to dictate a personal message? You must first register with Uconnect®Access
(U.S. residents only) to take advantage of a new, cloud-based Voice Texting service,
an enhancement to Voice Text Reply.
WARNING!
•Any voice commanded system should be used only in safe driving conditions
following applicable laws regarding phone use. Your attention should be focused
on safely operating the vehicle. Failure to do so may result in a collision causing
you and others to be severely injured or killed.
• In an emergency, to use Uconnect®Phone, your mobile phone must be:
• turned on,
• paired to Uconnect
®Phone,
• and have network coverage.
ELECTRONICS
74
Page 93 of 252

Voice Text Reply (Not Compatible With iPhone®)
Once your Uconnect®system is paired with a compatible mobile device, the system
can announce a new incoming text message, and read it to your over the vehicle audio
system. You can reply to the message using Voice Recognition, by selecting, or saying
one of the 18 pre-defined messages.
• Here’s How: Press the Uconnect
®Phone buttonand wait for the beep, then
say “reply.” Uconnect®will give the following prompt: “ Please say the message
you would like to send.” Wait for the beep and say one of the pre-defined
messages. (If you are not sure, you can say “help”). Uconnect
®will then read the
pre-defined messages allowed. As soon as you hear the message you would like to
send, you can interrupt the list of prompts by pressing the Uconnect
®phone
button and saying the phrase. Uconnect®will confirm the message by reading it
back to you. Then press the Phone button and say “Send.”
PRE-DEFINED VOICE TEXT REPLY RESPONSES
Yes. Stuck in Traffic. See you later.
No. Start without me. I’ll be Late.
Okay. Where are you?
I will be
minutes late.
Call me. Are you there yet?
I’ll call you later. I need directions.
See you in
of minutes.
I’m on my way.
Can’t talk right now.
I’m lost. Thanks.
Voice texting reply and voice texting features require a compatible mobile device
enabled with Bluetooth®Message Access Profile (MAP). iPhone®and some other
smartphones do not currently support Bluetooth®MAP. Visit www.UconnectPhone.com
for system and device compatibility.
Want to dictate a personal message? You must first register with Uconnect®Access
(U.S. residents only) to take advantage of a new, cloud-based Voice Texting service,
an enhancement to Voice Text Reply.
WARNING!
•Any voice commanded system should be used only in safe driving conditions
following applicable laws regarding phone use. Your attention should be focused
on safely operating the vehicle. Failure to do so may result in a collision causing
you and others to be severely injured or killed.
• In an emergency, to use Uconnect®Phone, your mobile phone must be:
• turned on,
• paired to Uconnect
®Phone,
• and have network coverage.
ELECTRONICS
91